Getting started with Nordic Semiconductor's nRF51 DK and Segger Embedded Studio
Choosing a Dev Kit

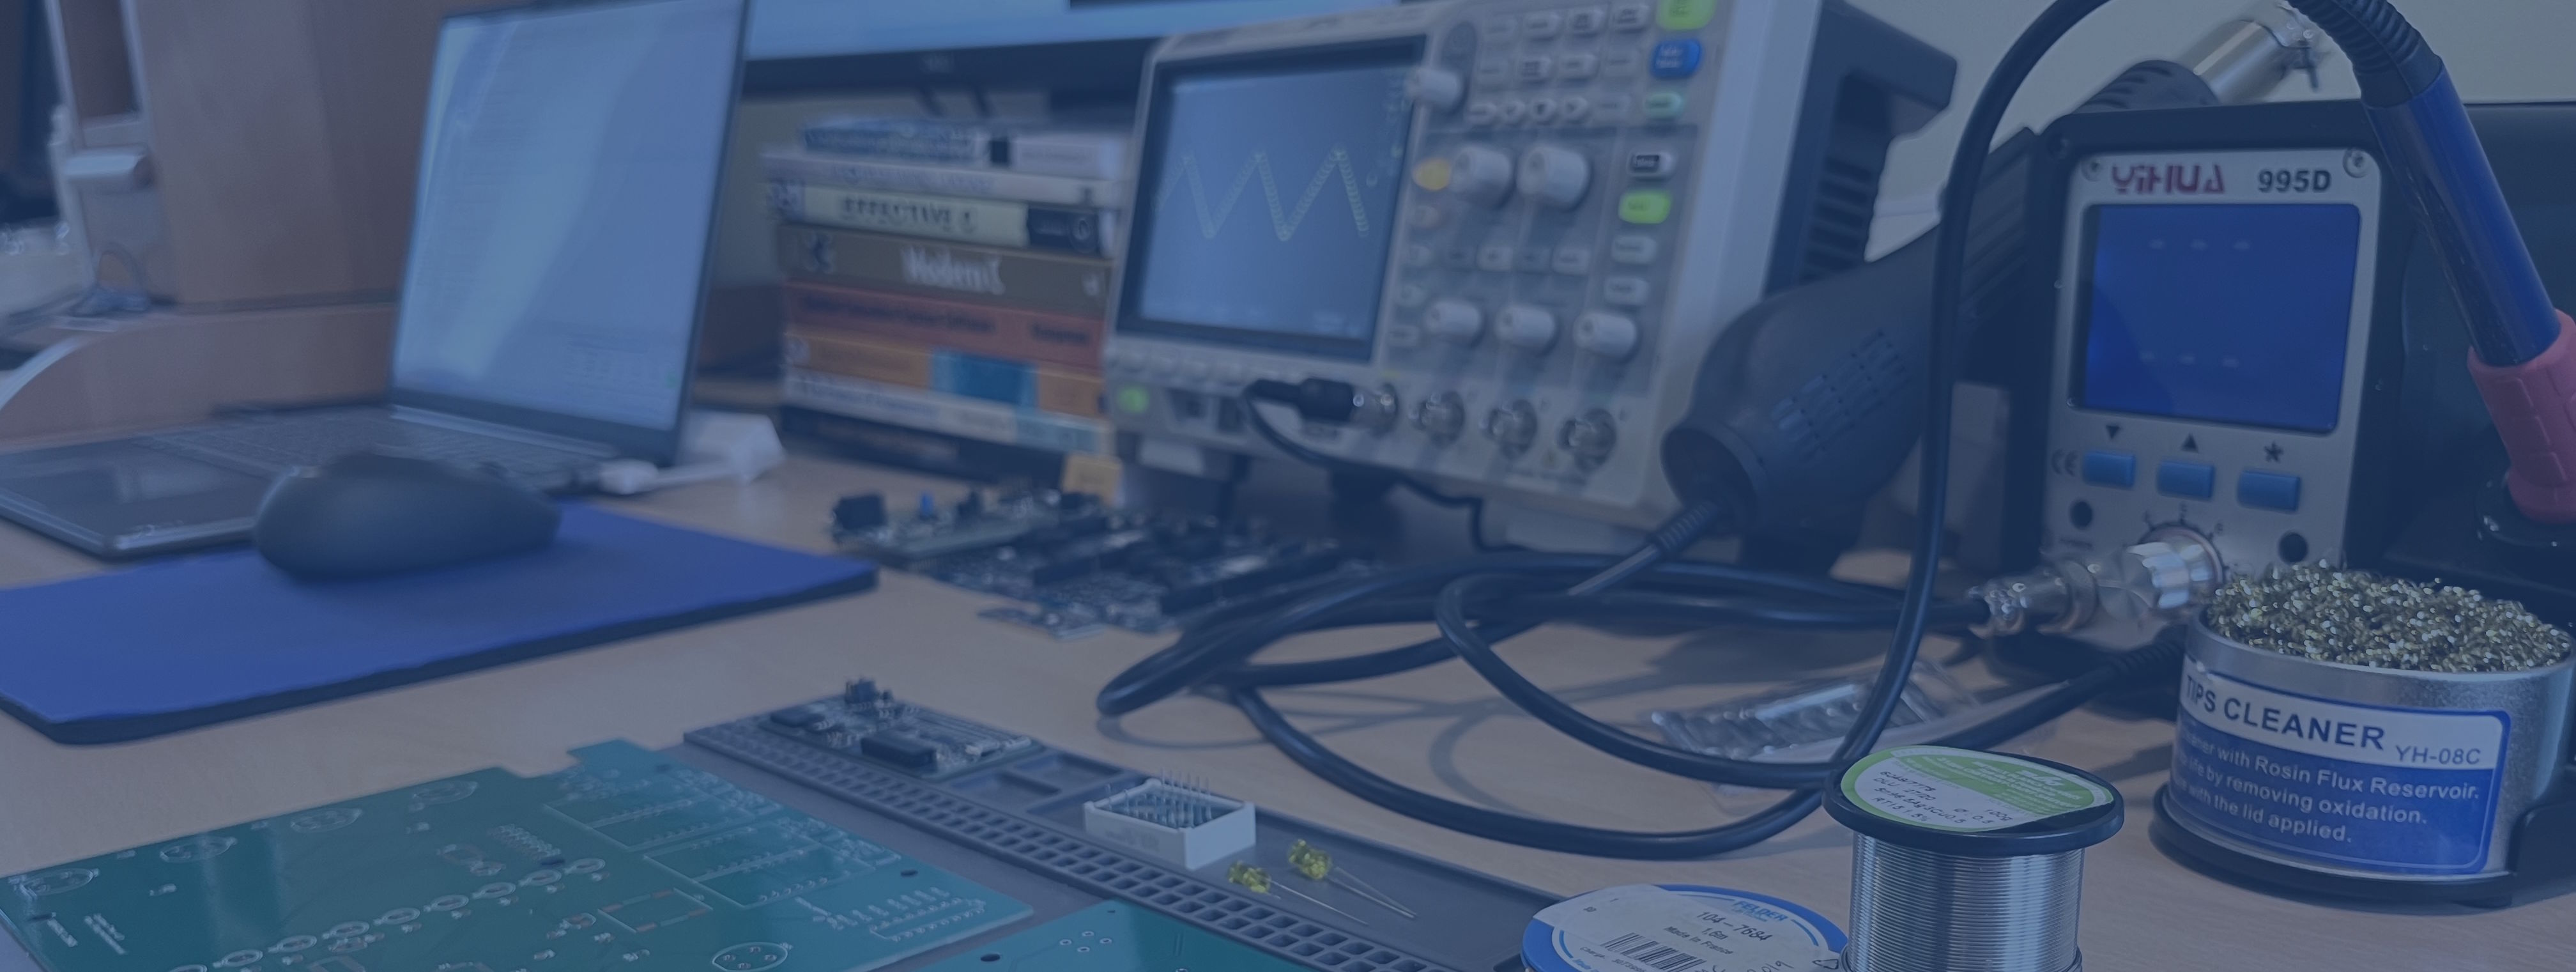
The nRF51 is recent enough to be supported by a mature development environment and to have lots of others try it out before me. The Development Kit comes in a handy sized board which only needs micro USB for power and data, and has a built in SEGGER JLink debug chip, as well as 4 user buttons and LEDs, and all the usual ports. It uses the nRF51422 which is Cortex M0 based, so I thought it would be a good way to do some M0 development work. In comparison, the later nRF52 series are M4 based, more capable but more expensive. I decided I didn't need the feature of the nRF52/Cortex M4, which was my first mistake.
Choosing an IDE
Nordic's Getting Started Guide v1.3, which covers the nRF51 DK, recommends Segger SES as the preferred development enviroment and is supported by Nordic.


While they also provide support for Keil, IAR, and GNU/GCC, the agreement with Segger is that they will licence it for free for use with Nordic chips. Since the nRF51-DK comes with a Segger J-Link debugger chip built in and I had previously noted that Segger seemed to be one of the premium brands for ARM Cortex IDEs and debuggers, with matching costs, Segger SES seemed to be the right choice of IDE. But it proved to be my second mistake.
Setting up
As soon as you start working through Nordic's instructions, it becomes apparent that they have left the nRF51 behind and are only really interested in the nRF52. The latest nRF5 SDK is version 16, but it doesn't support nRF51, you have to go back to version 12.3 to get nRF51 support. And since Segger has only been the preferred IDE since nRF5 SDK v14.1, Nordic's examples do not include Segger projects for v12.3 and therefore there are no example nRF51 examples with Segger projects provided.
Instead, Nordic provide instructions for converting Keil projects to Segger ones. These instructions are long and complicated, and in some areas vague. Worse, sometimes they don't match up with the current version of Segger (even though they say the best version is the latest one) and just don't work. Lots of people in their forums and comments on Nordic's own blog posts have been having basic linker problems over the last three years, and most of these do not have satisfactory solutions.
Choosing the right Getting Started point
I'm used to a bit of pain when it comes to bringing up a new board, it's expected even in a dev kit which should be tested and have good instructions. Nordic bounce you around between the Getting Started Guide, the infocenter, the dev kit user guide, videos on SES, their discussion forums and other Segger's own pages.
I started with the example from the video, 'ble_app_hrs' (third mistake) and failed to get it to link. So I started again with blinky, and failed to get it to link. So I started again with blinky but without the Softdevice (the protocol stack, including Bluetooth, which is provided as precompiled hex for each situation), and is a source of complication for the linker because you have to combine two hex files. Now I was down to the classic getting LEDs to blink on a micro, and still having linking errors.
Linking before Blinking
Back to the forums. Plenty of similar problems but no real solutions. Eventually found a blog post "Segger Embedded Studio - A Cross Platform IDE" by Hung Bui from Oct 2016 that was supposed to help but didn't. Down at the bottom of the comments was one from a user called secondbest, who claimed there was a solution in another thread. He had posted what he claims is the correct set of instructions for conversion from Keil projects to Segger, but more importantly had done the work for several projects and put it all on github.
I've now successfully built and linked the blinky and ble_app_hrs projects in the examples_segger folder of the github project. But really Nordic should release a 12.4 of their SDK with SES support or add nRF51 projects to their latest SDK with SES projects ready for use if they want to keep developers onboard.
Avoid this pain by...
Suggestions for anyone else contemplating Nordic nRF series development:
- If you want to use Segger SES, stick to the nRF52 devices, not nRF51, for fully supported development.
- If you are happy with the other development tools - Keil and IAR are also well respected - then you can work with nRF51 or nRF52 devices
Otherwise follow the instructions below
Working with SDK v12.3.0 in SES by Importing Keil Projects
These instructions are for a typical installation into the C drive on Windows 10, so may need slight modification for other circumstances - SES is cross platform. Much credit to 'secondbest' who's June 2019 post this is based on.
1) Download nRF5 SDK v12.3.0, unzip to C:\Bluetooth\Nordic_Semi\
2) Download flash_placement.xml, ses_nrf51_startup.s
copy to SDK folder "\components\toolchain\embedded_studio"
copy thumb_crt0.s to same SDK folder from C:\Program Files\SEGGER\SEGGER Embedded Studio for ARM 4.50\source\thumb_crt0.s
3) Install, licence and open SES v4.50, which is the latest at time of writing. (You do not need to install an earlier version as 'secondbest' had it).
4) File - Import Project - Import Keil MDK Project.
I started with C:\Bluetooth\Nordic_Semi\nRF5_SDK_12.3.0_d7731ad\examples\peripheral\blinky\pca10028\blank\arm5_no_packs which is without softdevice, simplest possible project.
Select Internal Toolchain.
5) No softdevice is present so flash_s130 did not exist in Build Configuration. Delete all Public Configurations in Build Configuration and leave only Common and Internal in Private Configurations. Add one Public Configuation eg called nrf51422_xxac, expand it and check boxes so that it inherits from Internal and Common.

6) Internal Files folder in project - delete all existing files (Cortex_M_Startup.s and SEGGER_THUMB_Startup.s). If you leave either in, you get linker errors - multiple definitions.
Add "flash_placement.xml", "ses_nrf51_startup.s" and "thumb_crt0.s" and "system_nrf51.c" from location in step 2. You need to change file filter to All files to see XML and .s files. system_nrf51.c is from SDK \components\toolchain
When adding flash_placement, SES pops up a dialog Section Placement File Detected.

Project - Options - Linker - Linker. Change from Segger to GNU.
Section placement file should read
../../../../../../components/toolchain/embedded_studio/flash_placement.xmlnot $(StudioDir)/targets/section_placement.xml7) Project - Options - Preprocessor - User Include Directories add
(click to expand) Include Files List
../../../../../../components/device
../../../../../../components/toolchain/cmsis/include
../../../config/blinky_pca10028_s130
../../../config
../../../../../../components
../../../../../../components/ble/common
../../../../../../components/ble/ble_advertising
../../../../../../components/ble/ble_dtm
../../../../../../components/ble/ble_racp
../../../../../../components/ble/ble_services/ble_ancs_c
../../../../../../components/ble/ble_services/ble_ans_c
../../../../../../components/ble/ble_services/ble_bas
../../../../../../components/ble/ble_services/ble_bas_c
../../../../../../components/ble/ble_services/ble_cscs
../../../../../../components/ble/ble_services/ble_cts_c
../../../../../../components/ble/ble_services/ble_dfu
../../../../../../components/ble/ble_services/ble_dis
../../../../../../components/ble/ble_services/ble_gls
../../../../../../components/ble/ble_services/ble_hids
../../../../../../components/ble/ble_services/ble_hrs
../../../../../../components/ble/ble_services/ble_hrs_c
../../../../../../components/ble/ble_services/ble_hts
../../../../../../components/ble/ble_services/ble_ias
../../../../../../components/ble/ble_services/ble_ias_c
../../../../../../components/ble/ble_services/ble_lbs
../../../../../../components/ble/ble_services/ble_lbs_c
../../../../../../components/ble/ble_services/ble_lls
../../../../../../components/ble/ble_services/ble_nus
../../../../../../components/ble/ble_services/ble_nus_c
../../../../../../components/ble/ble_services/ble_rscs
../../../../../../components/ble/ble_services/ble_rscs_c
../../../../../../components/ble/ble_services/ble_tps
../../../../../../components/ble/nrf_ble_qwr
../../../../../../components/ble/peer_manager
../../../../../../components/boards
../../../../../../components/drivers_nrf/adc
../../../../../../components/drivers_nrf/clock
../../../../../../components/drivers_nrf/common
../../../../../../components/drivers_nrf/comp
../../../../../../components/drivers_nrf/delay
../../../../../../components/drivers_nrf/gpiote
../../../../../../components/drivers_nrf/hal
../../../../../../components/drivers_nrf/i2s
../../../../../../components/drivers_nrf/lpcomp
../../../../../../components/drivers_nrf/pdm
../../../../../../components/drivers_nrf/power
../../../../../../components/drivers_nrf/ppi
../../../../../../components/drivers_nrf/pwm
../../../../../../components/drivers_nrf/qdec
../../../../../../components/drivers_nrf/rng
../../../../../../components/drivers_nrf/rtc
../../../../../../components/drivers_nrf/saadc
../../../../../../components/drivers_nrf/spi_master
../../../../../../components/drivers_nrf/spi_slave
../../../../../../components/drivers_nrf/swi
../../../../../../components/drivers_nrf/timer
../../../../../../components/drivers_nrf/twi_master
../../../../../../components/drivers_nrf/twis_slave
../../../../../../components/drivers_nrf/uart
../../../../../../components/drivers_nrf/usbd
../../../../../../components/drivers_nrf/wdt
../../../../../../components/libraries/bsp
../../../../../../components/libraries/button
../../../../../../components/libraries/crc16
../../../../../../components/libraries/crc32
../../../../../../components/libraries/csense
../../../../../../components/libraries/csense_drv
../../../../../../components/libraries/experimental_section_vars
../../../../../../components/libraries/fds
../../../../../../components/libraries/fstorage
../../../../../../components/libraries/gpiote
../../../../../../components/libraries/hardfault
../../../../../../components/libraries/hci
../../../../../../components/libraries/led_softblink
../../../../../../components/libraries/log
../../../../../../components/libraries/log/src
../../../../../../components/libraries/low_power_pwm
../../../../../../components/libraries/mem_manager
../../../../../../components/libraries/pwm
../../../../../../components/libraries/queue
../../../../../../components/libraries/scheduler
../../../../../../components/libraries/slip
../../../../../../components/libraries/timer
../../../../../../components/libraries/twi
../../../../../../components/libraries/uart
../../../../../../components/libraries/usbd
../../../../../../components/libraries/usbd/class/audio
../../../../../../components/libraries/usbd/class/cdc
../../../../../../components/libraries/usbd/class/cdc/acm
../../../../../../components/libraries/usbd/class/hid
../../../../../../components/libraries/usbd/class/hid/generic
../../../../../../components/libraries/usbd/class/hid/kbd
../../../../../../components/libraries/usbd/class/hid/mouse
../../../../../../components/libraries/usbd/class/msc
../../../../../../components/libraries/usbd/config
../../../../../../components/libraries/util
../../../../../../components/softdevice/common/softdevice_handler
../../../../../../components/softdevice/s130/headers
../../../../../../components/softdevice/s130/headers/nrf51
../../../../../../components/toolchain
../../..
../../../../../../external/segger_rtt
    ../config
Take care not to add any space characters before or after these entries, it will cause files not to be found if you do. Delete or overwrite the existing '.' entry.
9) Project - Options - Linker - Section Placement Macros, add as separate lines
- If soft device (S130 v2.0.1) is not present,
FLASH_START=0x00000000
SRAM_START=0x20000000
- If soft device (S130 v2.0.1) is present,
FLASH_START=0x1B000
SRAM_START=0x200013C8
skip steps 10, 11 because those are for nRF51822 - but we are using nRF51422 in devkit. Note that some use the label FLASH_PLACEMENT, but this puts the application at the base address instead of shifted up to allow for the soft device.
9b) Project - Options - Build - Memory Segments. Segments need to be labelled FLASH RX and RAM RWX, not FLASH1 RX and RAM1 RWX.
12) If softdevice is present, navigate to "Project - Options - Preprocessor - Preprocessor Definitions" and add "NO_VTOR_CONFIG". The complete list may need to be entered if it has not inherited from Common
BLE_STACK_SUPPORT_REQD
NRF51822
BOARD_PCA10028
NRF_SD_BLE_API_VERSION=2
S130
BSP_DEFINES_ONLY
NRF51
SOFTDEVICE_PRESENT
SWI_DISABLE0
CONFIG_GPIO_AS_PINRESET
NO_VTOR_CONFIG
You may have to remove BSP_DEFINES_ONLY when compiling some applications, eg ble_app_hrs.
13) If softdevice is present, navigate to "Project - Options - Loader - Additional Load File[0]" and select S130 v2.0.1 hex file - from SDK eg s130_nrf51_2.0.1_softdevice.hex, so enter it as ../../../../../../components/softdevice/s130/hex/s130_nrf51_2.0.1_softdevice.hex
14) Navigate to "Project - Options - Target Scripts - Disconnect Script" and add TargetInterface.resetAndStop() line.
15) Navigate to "Project - Options - Debugger - Register Definition File" and select nrf51.svd file which is in SDK folder as ../../../../../../svd/nrf51.svd .
The location of this file was not mentioned by 'secondbest'
16) Edit ses_nrf51_startup.s from__SRAM_segment_end__ to __RAM_segment_end__ instead, in one place.
The project can now be compiled, linked, programmed and debugged.
Incorrect Getting Started Guide Steps
Corrections to be made to "nRF5 Series: Developing with SEGGER Embedded Studio" Getting Started Guide
8.2 Importing Keil Projects
5 b) "In the Project Explorer, navigate to Internal Files and remove the Cortex_M_Startup.s file."
Add - Also remove SEGGER_THUMB_Startup.s
7 "If your project uses modules that require section variables (for example, the Peer Manager, Flash Data Storage, or Flash Storage), define where in the flash information from these modules should be stored."
This isn't clear to new users which examples need to include this step. Probably better to remove the condition, assume that all examples need it.
7 c) "Right-click on your project in the Project Explorer and select Import Section Placement."
This menu item doesn't appear at this stage with SES v4.50. Add flash_placement.xml to the Internal Files folder as in my step 6 and it will appear.
In Nordic's guide, the Internal Files folder does not have the flash_placement file. This can be seen in the screenshot at the top of page 21, and they do not instruct you to add it. Maybe it was not necessary in the version of SES that they wrote this with, but it necessary for SES v4.50.

Section Placement Macros need to be defined even if a softdevice is not included, so section 8.4 instructions need to be in section 8.3.
8.4 Configuring placement of the SoftDevice
It is not clear where to get the values from. The following paragraph is problematic -
"To find the correct values, check the Keil project that you imported (in Keil μVision, select Options for Target > Target), or program the firmware with approximate values, run it, and check the log output in the debug terminal for the recommended values."
Given that this manual is called "nRF5 Series: Developing with SEGGER Embedded Studio" Getting Started Guide, how can Nordic assume that you also have Keil μVision installed?
It is worth noting that each examples *.ld and *.icf files have Flash and Ram start and end/size information which could be useful as the approximate values, otherwise you leave the user with no information to start from apart from the single example of ble_app_uart on PCA10028.
Getting example 'ble_app_hrs' to run
A couple of changes to the above instructions are required.
Preprocessor definitions - removed BSP_DEFINES_ONLY, added CONFIG_GPIO_AS_PINRESET.
Linker - Section Placement Macros
FLASH_START=0x1B000
SRAM_START=0x20002C38
Target - Connect J-Link, Target - Erase All was necessary before Build and Run would work in my case, possibly because of a previously incorrect SRAM_START value. You can tell it is working by LED1 flashing briefly every 2 seconds for 3 mins after startup, while it is advertising. The advertising can be seen on the nRF Connect phone app.


When it stops advertising, press button 1 to wake back up.